




 I knew I HAD to have these but when I started hunting around, the lowest price I was seeing was still upwards of $15 for EACH letter. Yeah, not going to happen. So I did what any good crafter would do and started scouring Pinterest for good ways to make them on the cheap. I found a few blogs out there (here and here) but the costs were still a bit high using the paper mache letters or wood. Then I started finding a few that used cardboard. (here) Bingo. My kind of price.
So here’s what you need:
- 2-3 sheets of posterboard in the color you want
- 2 sheets of foam board (walmart even carries it). Great if it’s in the color you need, but just paint it if it’s not.
- acrylic paint (see above)
- hot glue gun
- something sharp like a pencil to create the holes
- 1 string of Christmas lights (I used a 150 light strand I think)
Some people can freehand letters. Not this girl. I used my Silhouette software to print out large letters over 4 sheets of paper. You can also do this in excel or photoshop. I used the free font Budmo found here and used text size 1500. Print the parts of the large letter, cut them out and tape them together. Then trace them onto your foam board and cut those out. I needed to use an exacto knife to cut through the foam board.
 Step 2
If your foam board is not the color you want it to be, paint it. Mine was yellow on one side and white on the other and I needed it to be red. So a little thing of acrylic paint and 2 coats later, and it was red. You don’t need to worry about painting the sides of the boards, just the top. A word of warning, I bought 2 kinds of foam board, one from Walmart and one from the Dollar Tree. The Dollar Tree one was much thinner and actually curled a little bit after the paint dried. I didn’t really care as I wasn’t going for perfect, but you might be happier with the thicker foam board from Wally World or your local craft store.
Step 3
Poke the holes for the lights. Now there are tons of cool strands of lights out there that look much more like marquee lights. And if I was using these letters for room decor or something for the long haul, I would have splurged. A friend even offered to loan me the lights hanging above their patio (thanks Laura). But 2 hour party folks. A free strand of Christmas lights from the basement tub worked just fine. I started the lights at the top of one letter and poked a hole just a little shorter than the distance between the 2 bulbs on the string. You’re not leaving the lights in the holes yet, just poking the holes.

Step 4
Cut your posterboard into 2” long strips. I used almost 2 full sheets of posterboard for my 6 marquee letters.

Step 5
Heat up your trusty glue gun. Then slowly, very slowly, put a line of hot glue on the edge of the foam board in 1-2” increments. Line up a strip of posterboard with the bottom the foam board and press to attach. Does that make sense?
 Continue around the edge of the letter and around the inside. It will take a bit of finagling on the small inside spaces of some of the letters, but it wasn’t as bad as I thought it’d be. I found that on the large curved letters, it helped to use 2 smaller strips instead of one long one to get a best fit and without it getting weird and bendy.
 Step 6
Now that you have all your letters done, all you have to do it insert your string of lights in the back. They fit pretty snug in the holes, but I did add some painter’s tape along to secure it. Sorry I didn’t take any pictures of this step. When I was done, all the letters were strung together and now had to be moved as a group. Here’s a picture with the lights in focus, not the letters.

Then you just need to have someone else hang it for you. haha. I simply put some command strips on the back and hung them from the overhang on our patio.


I was pretty impressed that they even survived an hour of good rain. We took them down so they could live in our basement now! Definitely added just the amount of pop I wanted for the party. And not bad for under $5!



 The kids had a blast playing in the basement, running naked in the hose outside and feeding the cows. Oh and just being crazy.
 The parental units made an amazing dinner for
 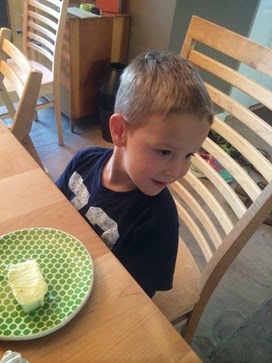 Then we finally got to the part Owen was waiting for, Cake and presents.
 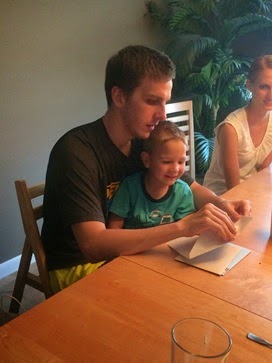 We made the mistake of thinking Owen and Ellie could possibly sleep in the same room together. Parent FAIL. I guess we should have known that putting 2 terrible sleepers together is just going to result in more terrible sleep. So somewhere in the middle of the night, we divided and conquered. Ellie came and slept with me (and Miles) and William slept with Owen.
 Sunday morning we finally got a picture of my parents and the kids. That’s been a long time coming. I took about 40 and this was the best. :)
 We had a great time at their church,
  When we got home, we finally got around to something we’ve been talking about doing. . .making Ellie’s crib into a toddler bed. As you can tell, she was thrilled!
 It really hasn’t done much to make sleep better or worse this week which I guess I should be thankful for. Of course we’ve had a few more things to clean up as she now loves to pull books off her bookshelf and take shoes out of drawers. And one night, she did walk downstairs in the middle of the night looking for me. But other than that, we’re on our way to true toddler-hood. Next up: paci only at night and maybe potty training? Lord help us.
 This little guy is 4! So hard to believe.
  3 was a hard year for this guy. But I’m already starting to see hope in the age of 4. He’s been so helpful and sweet lately with his little brother. I’m hoping for an awesome year.
 I love watching his imagination. He loves to make up stories and is very into telling me about his super hero powers right now.
 He is an individual that’s for sure. Here are his toes painted in a pattern of his choosing after seeing Ellie and I do our nails.
 He’s quiet (in public), inquisitive, and a deep feeler. He still doesn’t sleep through the night, although is becoming less of a picky eater.
 He loves to draw and reading books is always a favorite thing to do. So looking forward to our school time starting again this fall and watching him learn!
 Happy 4 years to my firstborn!
 We struggled to get him back inside after riding.

 He of course wanted to open his presents immediately.
 We had birthday donuts for a special treat.
 Elmer and Jackie (William’s parents) arrived later in the day and he got to open even more presents!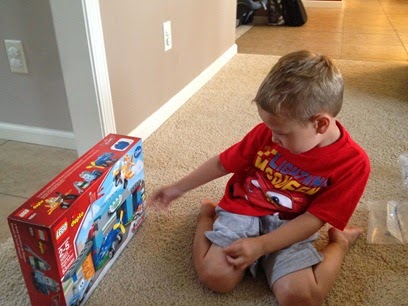
 Owen wanted to help decorate his own cake. So not Pinteresty but fun to do it together.


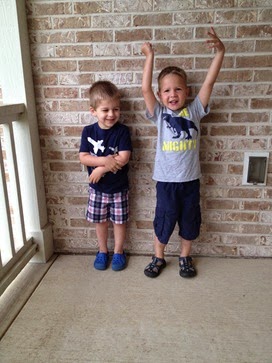
 All in all, it was a super fun week of celebrating him! Definitely not a


 Posts
Posts


