


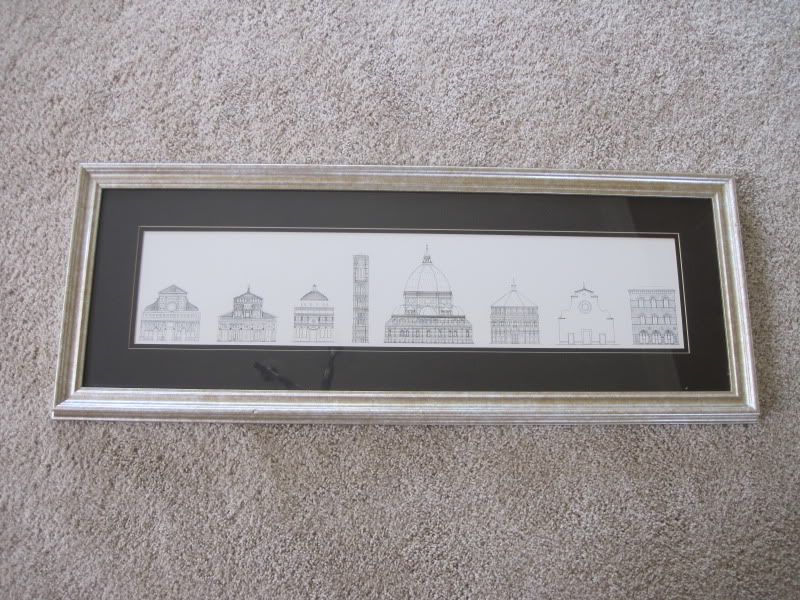
Step 1: gather your supplies of an old frame, spray paint, chalkboard paint, vinyl decals (optional as you could just write the letters with chalk), 2 nails, and chalk
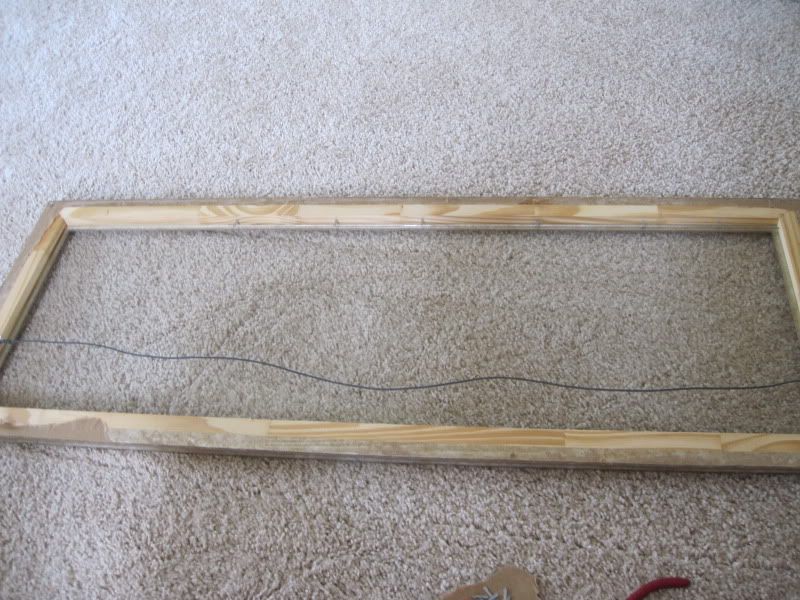
Step 2: take said old frame and dismantle all the pieces. Lightly sand the frame to prep for paint.

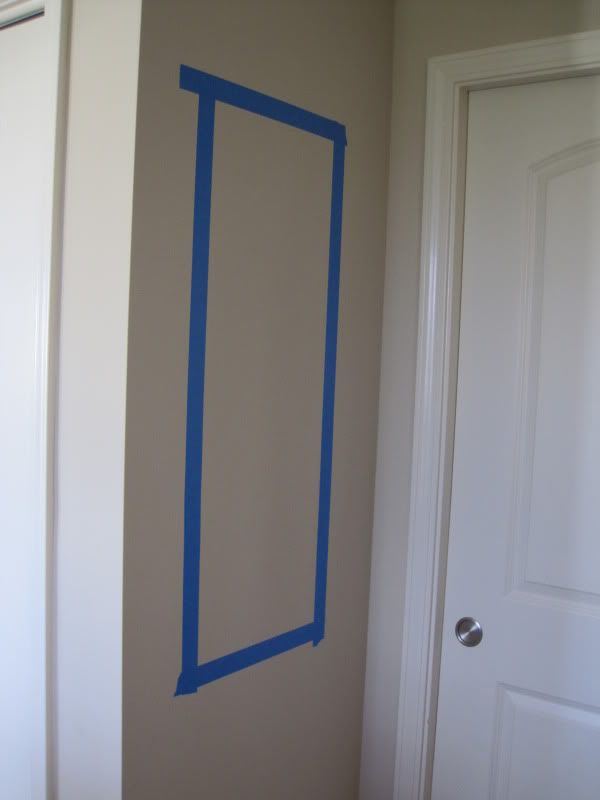
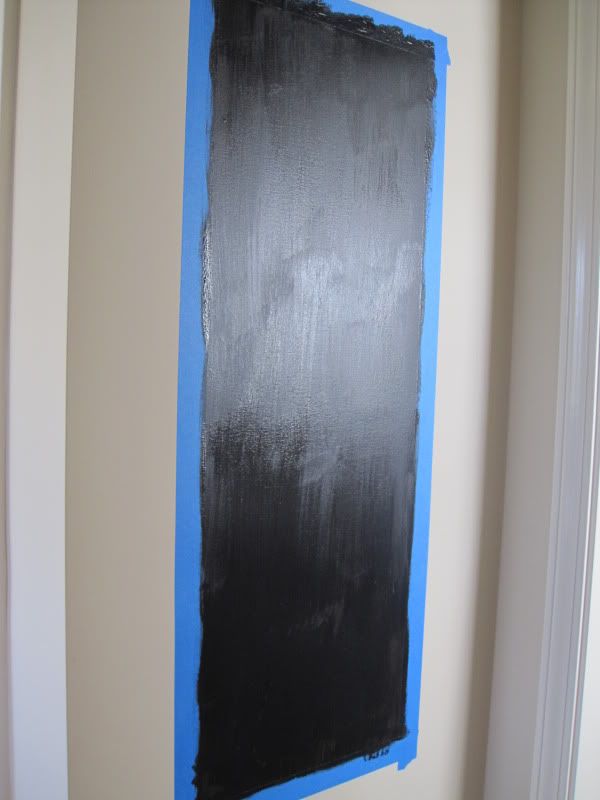
Step 5: paint the taped off area with your chalkboard paint. I just used a paintbrush because I was too lazy to dig through our painting supply box in the garage to find a paint tray, roller, etc. I did 3 coats to be sure everything was good and covered. I tried to wait 24 hours between each coat. Then peel off your painters tape!

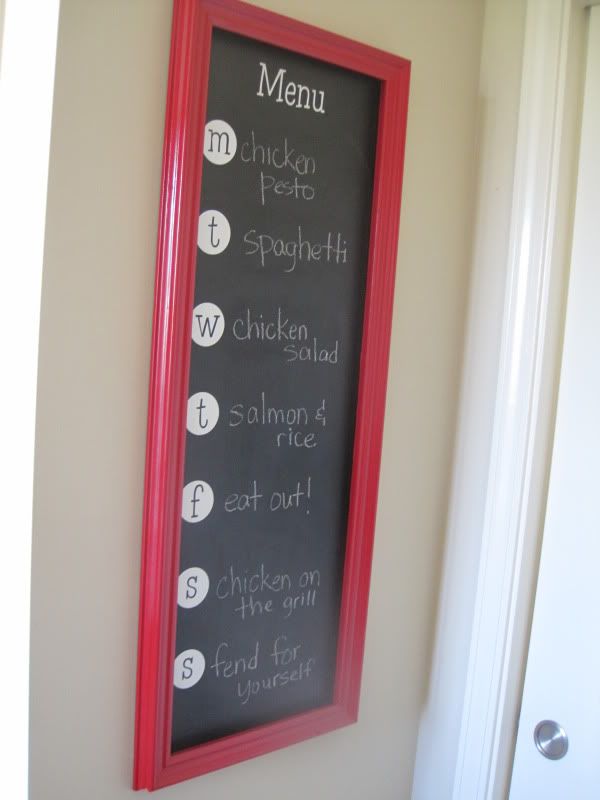
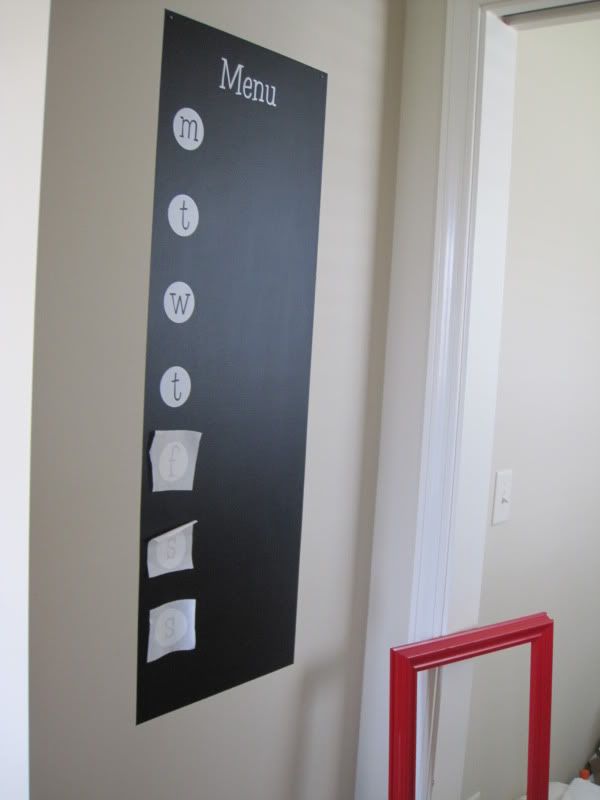
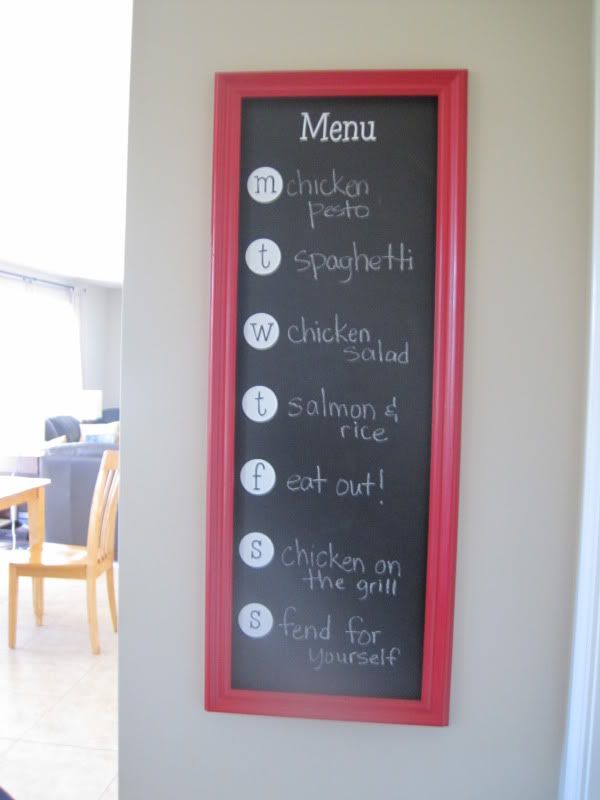
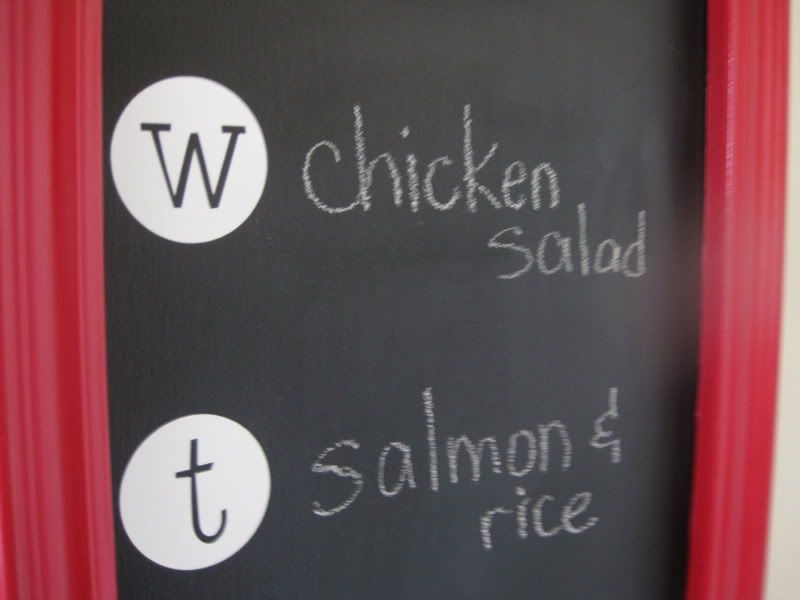
Step 6: Apply your vinyl. I used my Silhouette machine to make the "Menu" and the letters of the week. But you could paint these with a stencil. Or not do them at all and just use chalk to write it.
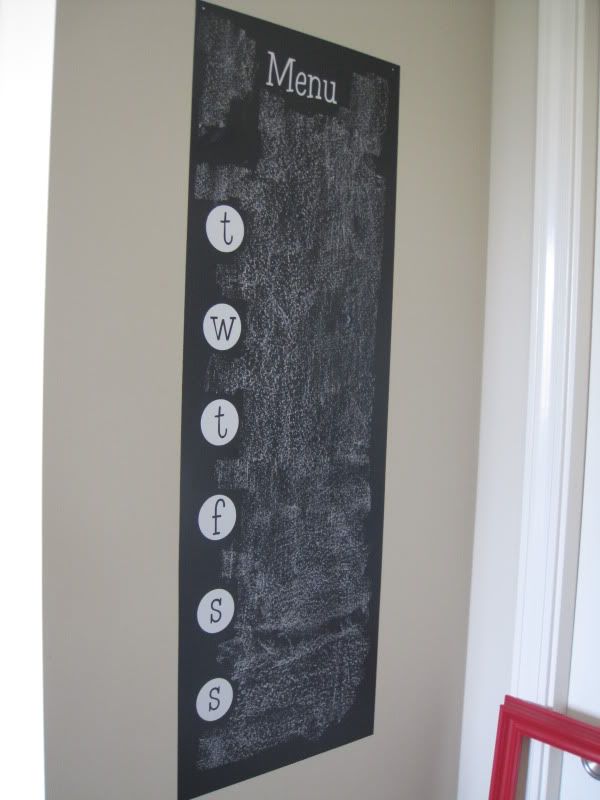
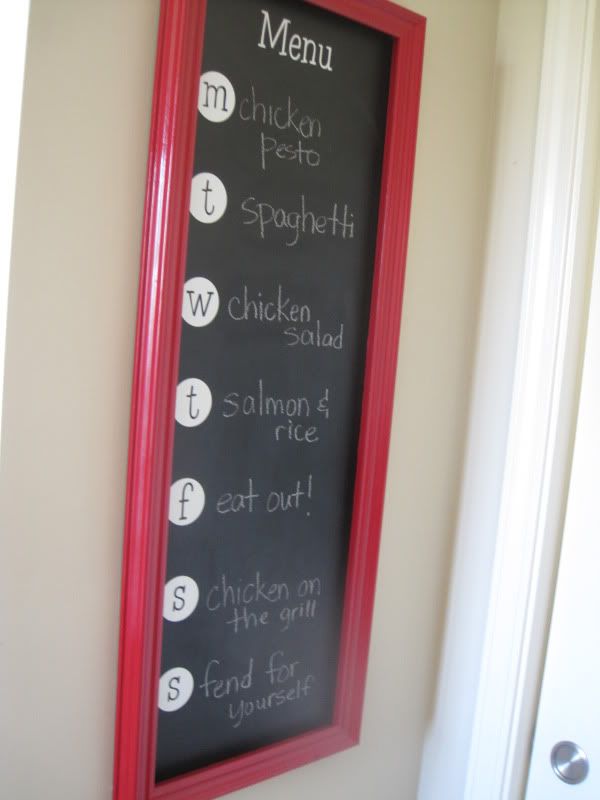
Step 8: I hung the frame using two small nails as close to the corners as I could get. And then wrote my first week's menu! Step 7: On many sites with chalkboard ideas, it's recommended to "season" your chalkboard. To do that, you just take a piece of chalk, lay it on the side, and color the entire surface of the board. Then I just wiped it clean with a damp cloth.


So cute! And such a great idea. Love it.
ReplyDeleteThis is great. I'm going to have to steal the idea of having a menu chalkboard (makes changes easy because you can erase!). However I don't think I can be as crafty about it as you so I'll go much more simple.
ReplyDeleteThis is adorable! I've been thinking of doing one of these for a while...you just inspired me to get busy!
ReplyDeleteI just "pinned" this lol
ReplyDelete