





 Haha. My mom is actually pretty thankful Pinterest wasn’t around during my wedding planning because I already had quite a few projects that I came up with on my own. Since I didn’t have a blog back then (I did have a wedding website that some of you will remember), I thought I’d do a few posts over the next couple months titled “wedding flashback” and share a few of the craft projects that made my wedding mine.
 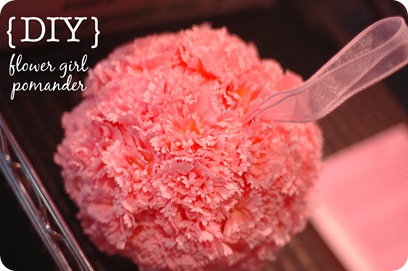 The first one I’ll share is my flower girl’s pomander. Even though I used real flowers everywhere else in my wedding, when my florist quoted me about $75 for a real pomander, I decided to make her one she could keep. And this was a very simple project. So here are the supplies you need to gather:
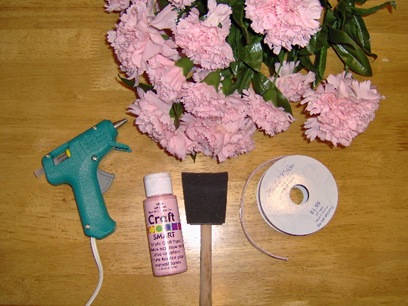
 - 2-3 bunches of the flowers you want to use (I normally am very opposed to carnations in any form, but when they’re in mass like this, they’re not too bad) :)
- 5” Styrofoam ball (not pictured)
- craft paint in the color of your flowers
- cheap craft paint brush
- hot glue gun
- coordinating ribbon
- straight pins (optional)
Paint the Styrofoam ball with the paint. While this seems unnecessary since you are covering the ball with flowers, trust me and do it. It will mean that if there are any areas not covered by flowers, you won’t be able to tell. I painted 2 coats and let it dry overnight before adding the flowers. I used a little dish to keep it from rolling all over.
 Step 2
Heat up your glue gun. Decide where you want your ribbon handle and how long you want it. I think mine was about 6-8” total. I pinned it in place and also secured it with hot glue just to be sure it stayed!
 Step 3
Take the flowers off the stems and remove any leaves. Poke one flower down into the Styrofoam ball.
 Step 5
Remove the flower and fill the little hole with hot glue. Put the flower back into the hole and let it set for a minute to cool. Whew, sorry for the blurry picture.

Step 5
Repeat the process over and over until your entire ball is covered with flowers. I put them pretty close together as I wanted a dense looking pomander. But it will also depend on the size of the flowers you choose. And ta-da a cute pomander.
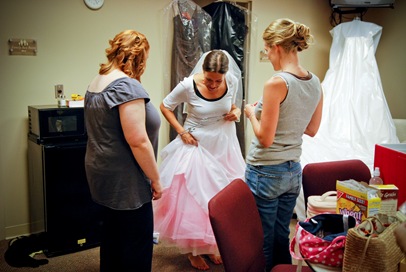
 Here’s a few pictures of it in action on the big day:




 I prepped my area by laying a towel down to catch any drips. Sophie got in on the action.
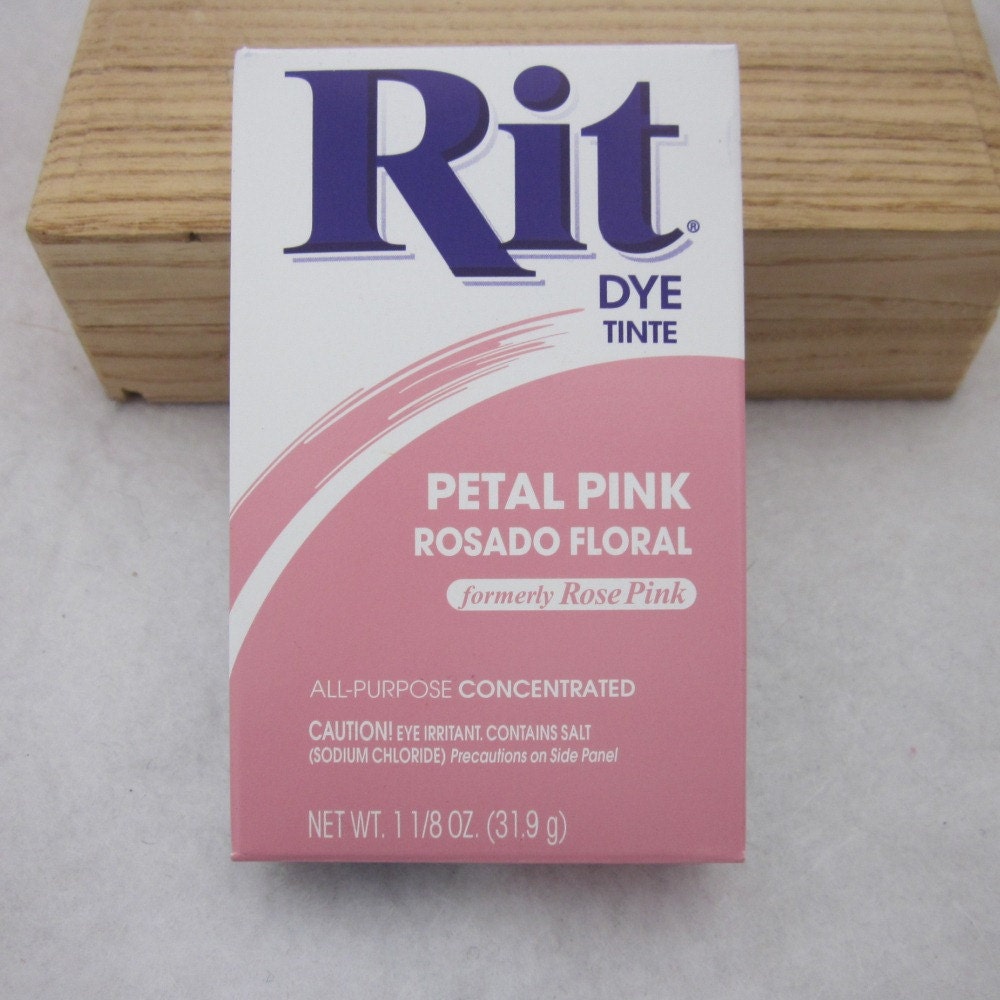
 I followed the directions on the box and mixed the dye with 2 cups hot water
 I pulled out the crinoline and added in a couple tablespoons of detergent to the water.
 Then I poured in the dye.
 Let your washer mix those things up for a minute and then submerge your crinoline back in.
 I checked on it about every 3-5 minutes, to untwist it and move it around in the washer to make sure it was getting an even dye job. You will have to reset the wash cycle because you have to keep it in the dye for at least 30 minutes before you rinse.
 I love how the slip part stayed fairly white, with the edging and tulle really picking up the color!
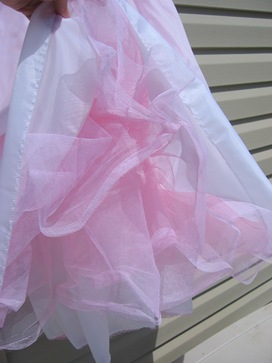 Happy dyeing! And here is the



 Posts
Posts


