Well, it's the long awaited (ok, maybe just for me) post about Sara's shower! This has been 7.5 years in the making. That's how long Phil and Sara have been married and that would've given you point on her Baby Trivia quiz, but I'm getting ahead of myself. On September 28, Sara found out she was having a girl and my mind has been whirling every since. When she picked out her bedding, I was finally able to nail down a theme for the shower. . .birds!
 Invite
 I ordered the invites from
Oodles of Color on Etsy (did you expect anything to not be from Etsy?:) I would recommend Michelle for anything! She did an outstanding job and even the packaging they came in was adorable! She even got them to me super fast since we moved up the shower date at the last minute. The invite became the jumping off point for all the other decorations as I tried to copy the cute little pink birds onto just about everything I could!
 Decor
DecorI will admit that this baby shower had gotten me on a crafting binge like no other. But it was so worth the late nights and the glue gun burns. When guests arrived, they were welcomed by the simplest of my crafts. How it started:


I got the grapevine wreath for $.50 at the
IDEA store (check this out if you're in CU and want cheap crafting things!) It was covered in some tacky Christmas ribbon which I promptly ripped off, added a printed welcome sign and cut out a little felt bird from the invite. Throw on a pink ribbon and it's a great way to welcome people on this gloomy day. I'm going to give this wreath a new life after the shower as well for my front door (future post on this one).
My next must-do was a bird mobile I found
here at Spool Sewing. This project turned into a family affair. I picked out the fabrics, my mom sewed and stuffed the birds, my dad trimmed the tree for the sticks, I helped get them on the branches, and then dad once again helped getting everything to balance. I will say it was much harder to do that part than I had anticipated. But in the end, we got the perfect centerpiece for the main room. I'm kicking myself that I didn't get any action shots of us putting this together or a close up of the birds. But each bird has two coordinating fabrics that (hopefully) compliment the bright girly colors in Baby Habel's bedding. And no, I didn't make my dad screw something into the ceiling. They're trying to sell their house remember? I love
Command hooks for everything!

The next project for the living room was a simple clothesline of pink and purple goodies. I used pink ribbon and just bought a pack of clothespins at the dollar store. I cut out birds from scrapbooking paper and glued them to the birds to add a little pizazz. Can you tell I like to buy something pink every trip I make to Target, Walmart, or Meijer? :)


The diaper cake I think is my pride and joy of the shower. I've made a diaper cake in the past, but didn't love that it involved rolling each diaper in a rubber band (sorry Becky that you had to unroll every single one). So I used the directions I found
here. Much easier and cleaner looking in my opinion. Then the tricky part: glue all the decorations on without getting any glue on a diaper so Sara could use each one. I glued branched all around and then added some roses and leaves throughout. To make the flowers, I followed the tutorial
here. The only thing I changed it to make them more flower-like, instead of making a straight circle cut, I made all the lines wavy as I cut. Hope that makes sense. For the topper, I bought a little nest at Hobby Lobby and then once again cut the invite bird out of felt twice, sewed it together and added a little stuffing.


Lastly, I carried this branch and flower theme to the table. Please excuse the dark, bad pictures. It was a super gloomy day so I wasn't working with good natural light. I laid out branches and again glued flowers and leaves to them. There were also 2 birdhouses that I made out of old books using this
tutorial. I got a few books (free) from a little used book store on Mattis and ripped out all the pages. Let me tell you how hard that was to do as a teacher who stressed loving your books. :) Then I stapled the pages into heart shapes and glued them together. I covered the ugly books with fabric and added a ribbon for hanging. Adorable little houses for birds on a little branch.


 The Food
How did I not take a picture of the completed food table?! Ohh well, you'll have to trust me that it looked and tasted delicious. My mom made a spinach/mushroom quiche and a ham/cheese quiche which were both fabulous. Lori made beautiful fruit kabobs with a yummy fruit dip. I made a blueberry french toast coffee cake whose
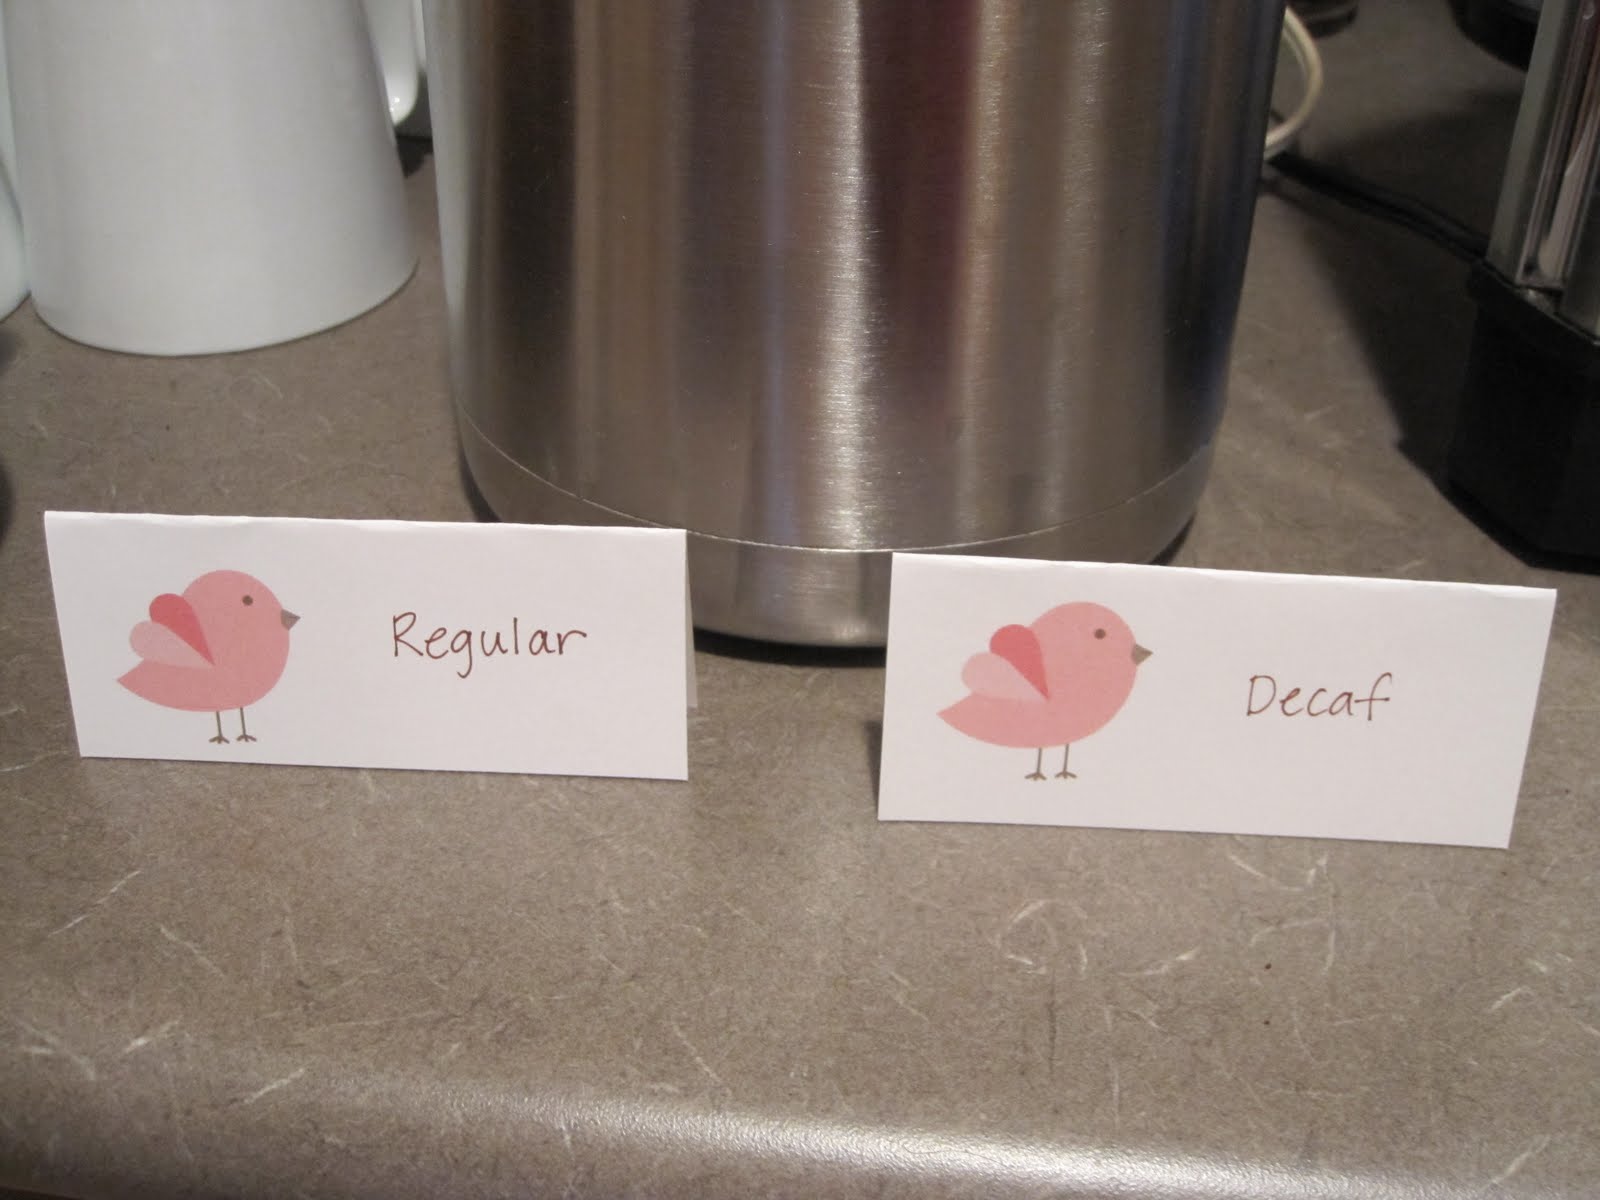
recipe I got from my cousin Julie. Everything had cute little labels donning the bird of course.

And every party needs cake, so I also made the cupcakes. The cake part was just a *cough cough* box mix, but the
buttercream icing recipe I used was fabulous! For half the cupcakes, toasted coconut and topped them with a blue jordan almond to resemble a nest. The other half got a fondant topper that I ordered from
Two Sugar Babies on Etsy. While they were adorable, I'm not sure I would splurge on something like that again. Most people didn't eat the topper as it was pure hard sugar.

 Favors
What's a party without favors? To keep up with the theme, I ordered blue Jordan Almonds from
Amazon (Superior Nut Company). Then I put them in a small bag and printed out a sticker tag to seal the bag. To finish it off, I put them in a "nest".


All in all, the place looked great and it was ready for the great friends to fill the house. Stay tuned for part 2.


 Let's start with the basic alligator clip. Here's directions on how to line them, but I actually did the directions backwards and started lining from the back. On all the clips, I also hot glue some non-slip mat that I got from walmart (the shelf lining stuff)
 Next, let's move onto a simple mini bow made with cute pink and brown ribbon.
 Love the colors in this one! This flower is addicting, I'll warn you. It's called a rolled fabric flower - made in green and there are tons of differnet tutorials out there for this one!
 Followed the same pattern as above, just used a smaller ribbon insgtead of fabric. Then added the petals.
 This one was called the Sweet Easy Baby Hair Clip. And it was very easy and looks super sweet.
  No tutorial for this one. Just my brain.
 The felt rose was one of my favorites although after making a million of them for all the decorations, I was kinda glad to be done rolling felt! :)
 These are called the Silky rose and because of aforementioned love of burning the ribbon these were super fun because each layer/circle has to be melted before they're all sewn together. They're so pretty!
 These are called the Twisted Boutique Bow. Super cute and fun. These average $8-10 at Bella and I could easily make 5-6 out of my spool of $1 ribbon I got on sale at Hobby Lobby.
 The orange flower was made from this leather flower tutorial. The blue one was just called a fabric flower. Love both of these and no, I didn't realize I had done Illini colors since I did these two on different days. I added a picture of the back so you could see what I'm talking about. I hadn't added the no-slip piece to them yet in that picture.
 There's no plans for this one. I bought the flower at Hobby Lobby and simply added the rhinestone and a pink-covered clip to the back.
 Now it's time for some holiday clippies. Let's start with Christmas since it's only 14 days away! Ahh, I need to finish shopping! First up is the Martha Stewart Ultrasuede flowers clip. I think this may be one of my favs.
 And what's Christmas without the tree?
 Then moving on in the order of seasons, we have the Easter chick:
 And then skipping all the summer holidays, we have a pumpkin which I had seen at Bella, so I just kinda winged this one.
 There were so many more examples out there that I just didn't have time to do. Here's a list if you're inspired to break out your hot glue gun.

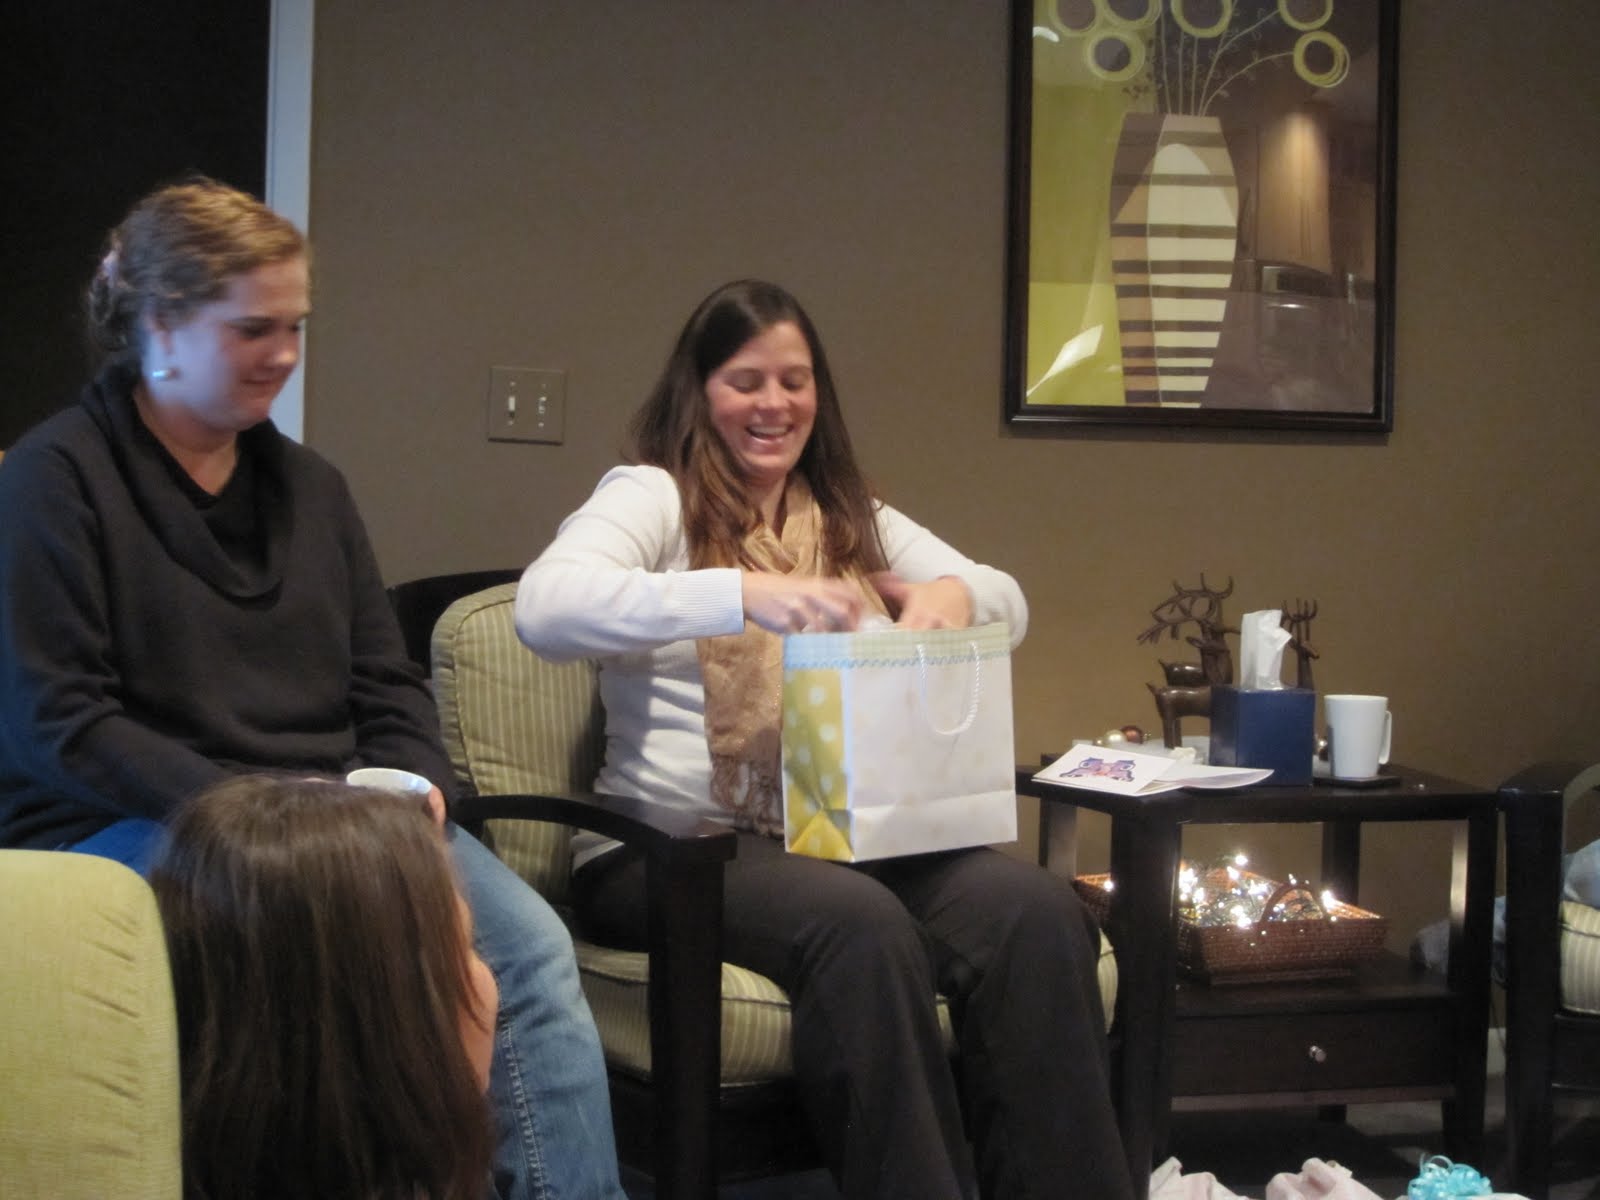
 After everyone arrived, we dug into the yummy food and good conversation.


 After gifts, we gathered around Sara and prayed for her, this sweet baby girl, her labor/delivery and the journey into motherhood. The Kleenex were definitely getting passed around.